How to Export Superior Drummer 3 to Individual Audio Tracks in Logic Pro
The easiest way to get every Superior Drummer 3 drum onto its own audio track in Logic: export the MIDI, bounce stems inside SD3, and import them back. Then remove SD3 and save CPU.
It can be annoying to have to flip between Superior Drummer 3's mixer and the mixer for whatever DAW you're using. You can setup routing inside of SD3 and output your tracks to individual drum piece tracks in your DAW, but there's an easier way.
I record my drums with eDrums using Midi. So if you're doing that, or programming them manually in Midi, or even using Logic's built in session drummer, this is a quick way to bounce individual tracks so you can disable SD3 in your project. Your CPU will thank you!
The short version: export your drum part as MIDI, drop it into Superior Drummer 3, use SD3's own bounce feature to export every drum as its own audio file, then bring those files back into Logic.
The video above walks through it on screen. This post is the step-by-step so you can follow along at your desk.
Why bother putting drums on separate audio tracks?
Two reasons:
- Control. Every drum gets its own track in Logic, so you can EQ, compress, and balance them with the same plugins you use on everything else.
- CPU. Superior Drummer 3 is heavy. Once your drums are audio, you can remove SD3 from the session completely and free up a lot of your computer's processing power.
Step 1: Get your drums into a MIDI region
If you already recorded your drums with MIDI, or programmed the MIDI by hand, skip ahead.
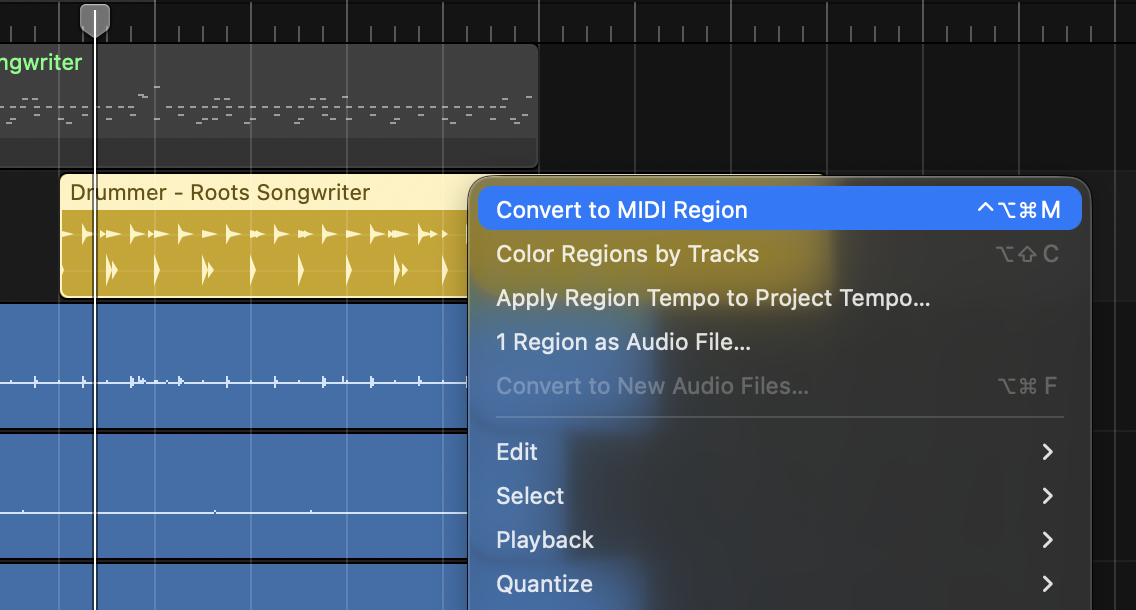
For this example I used Logic's Session Drummer to make a drum loop. Session Drummer regions aren't regular MIDI regions, so convert it first: right-click the region and convert it to a MIDI region.
Step 2: Export the region as a MIDI file
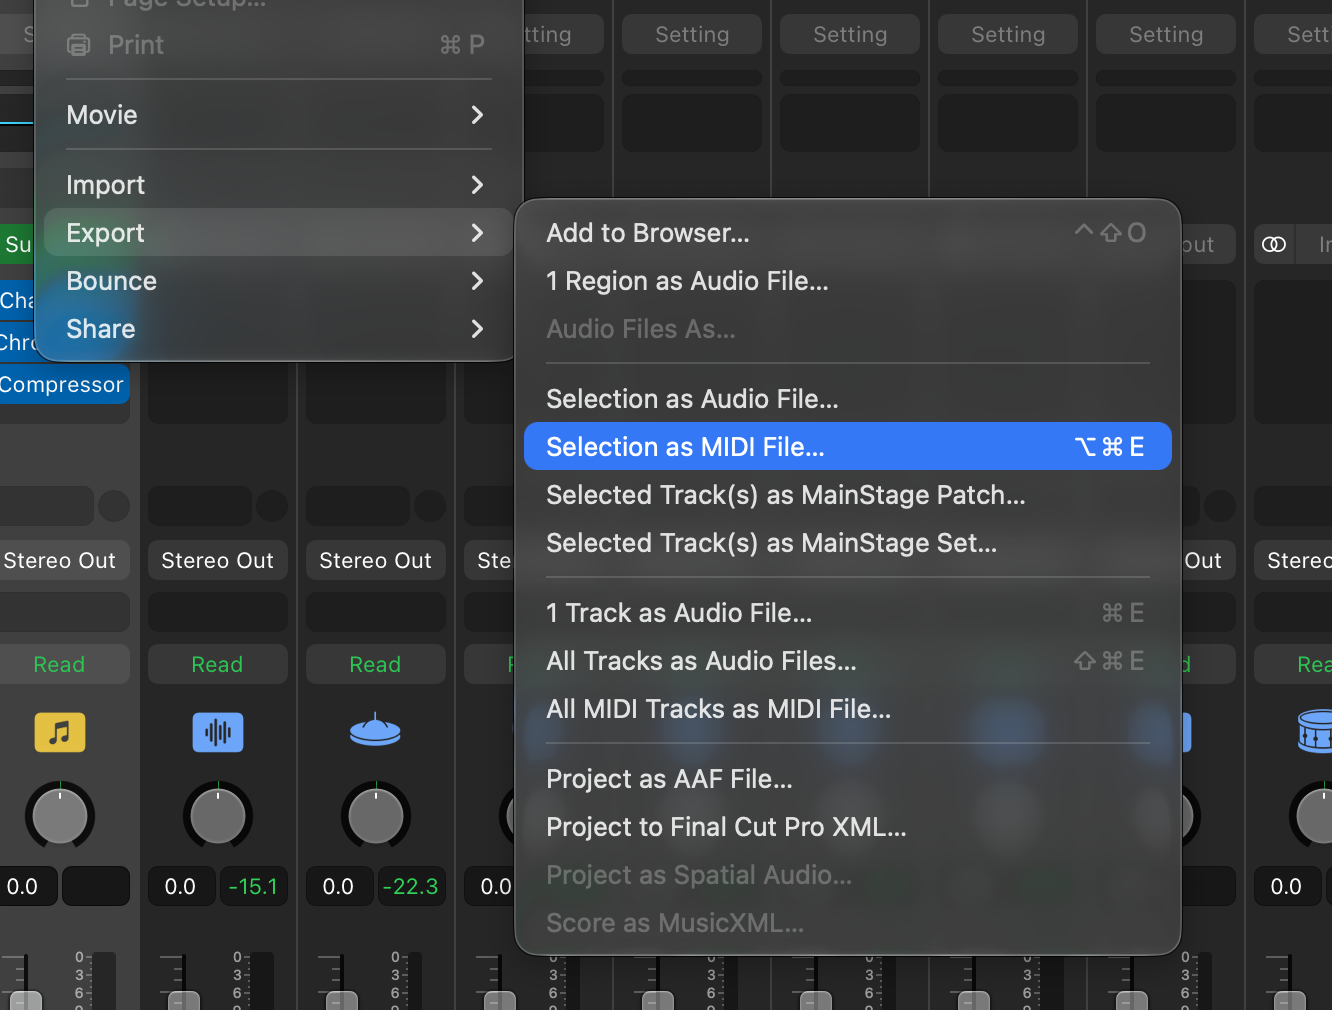
Select the MIDI region, then go to File > Export > Selection as MIDI File. Save it somewhere easy to find.
Step 3: Drag the MIDI file into Superior Drummer 3
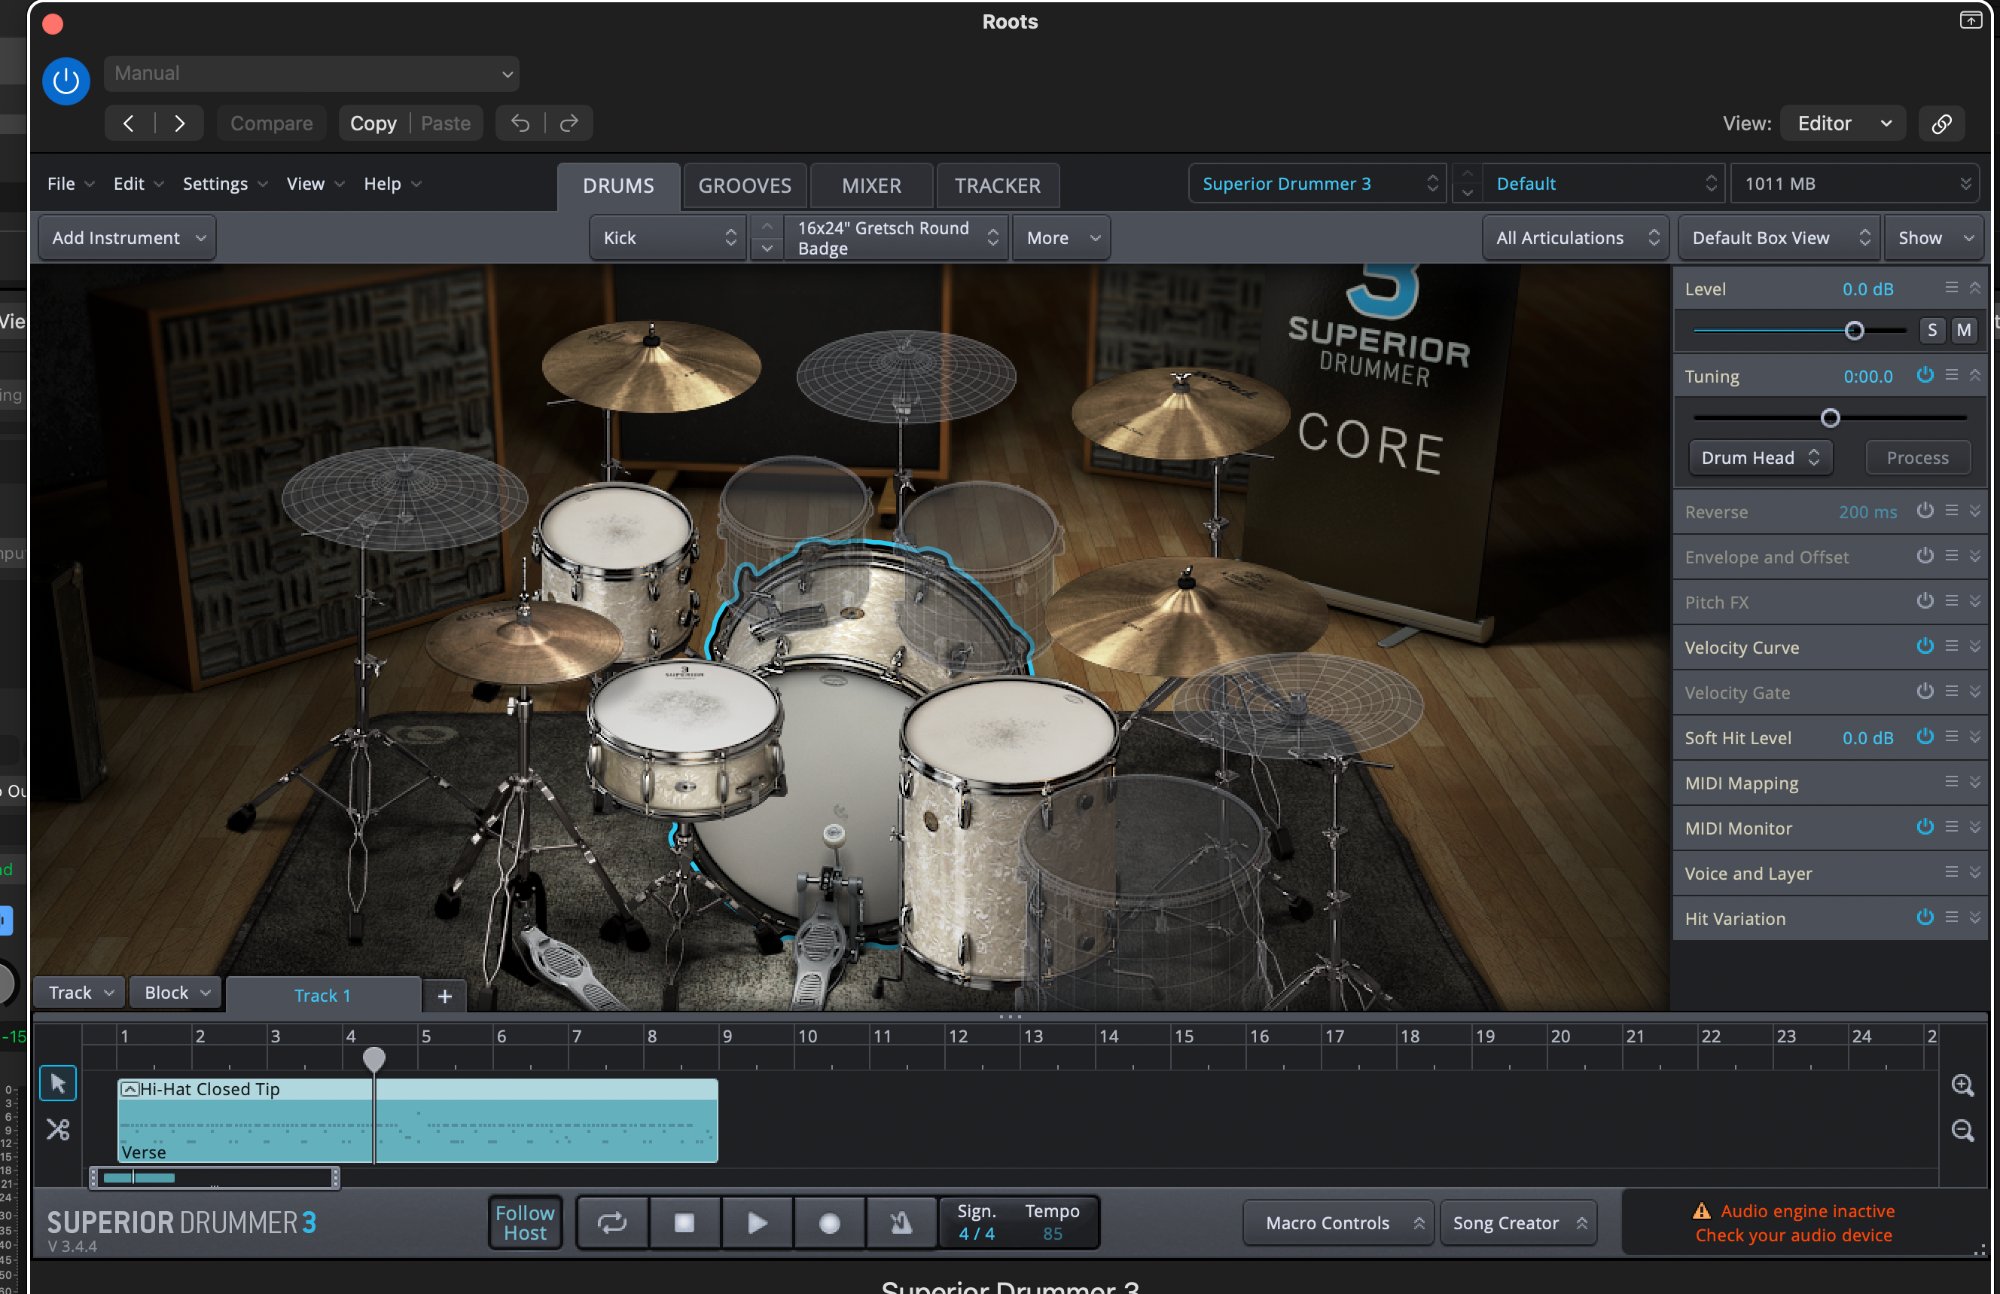
Open Superior Drummer 3. At the bottom there's an area that says to drag your MIDI blocks there. Find the MIDI file you just saved and drag it into that window.
Step 4 (optional): Turn off the kit's built-in effects
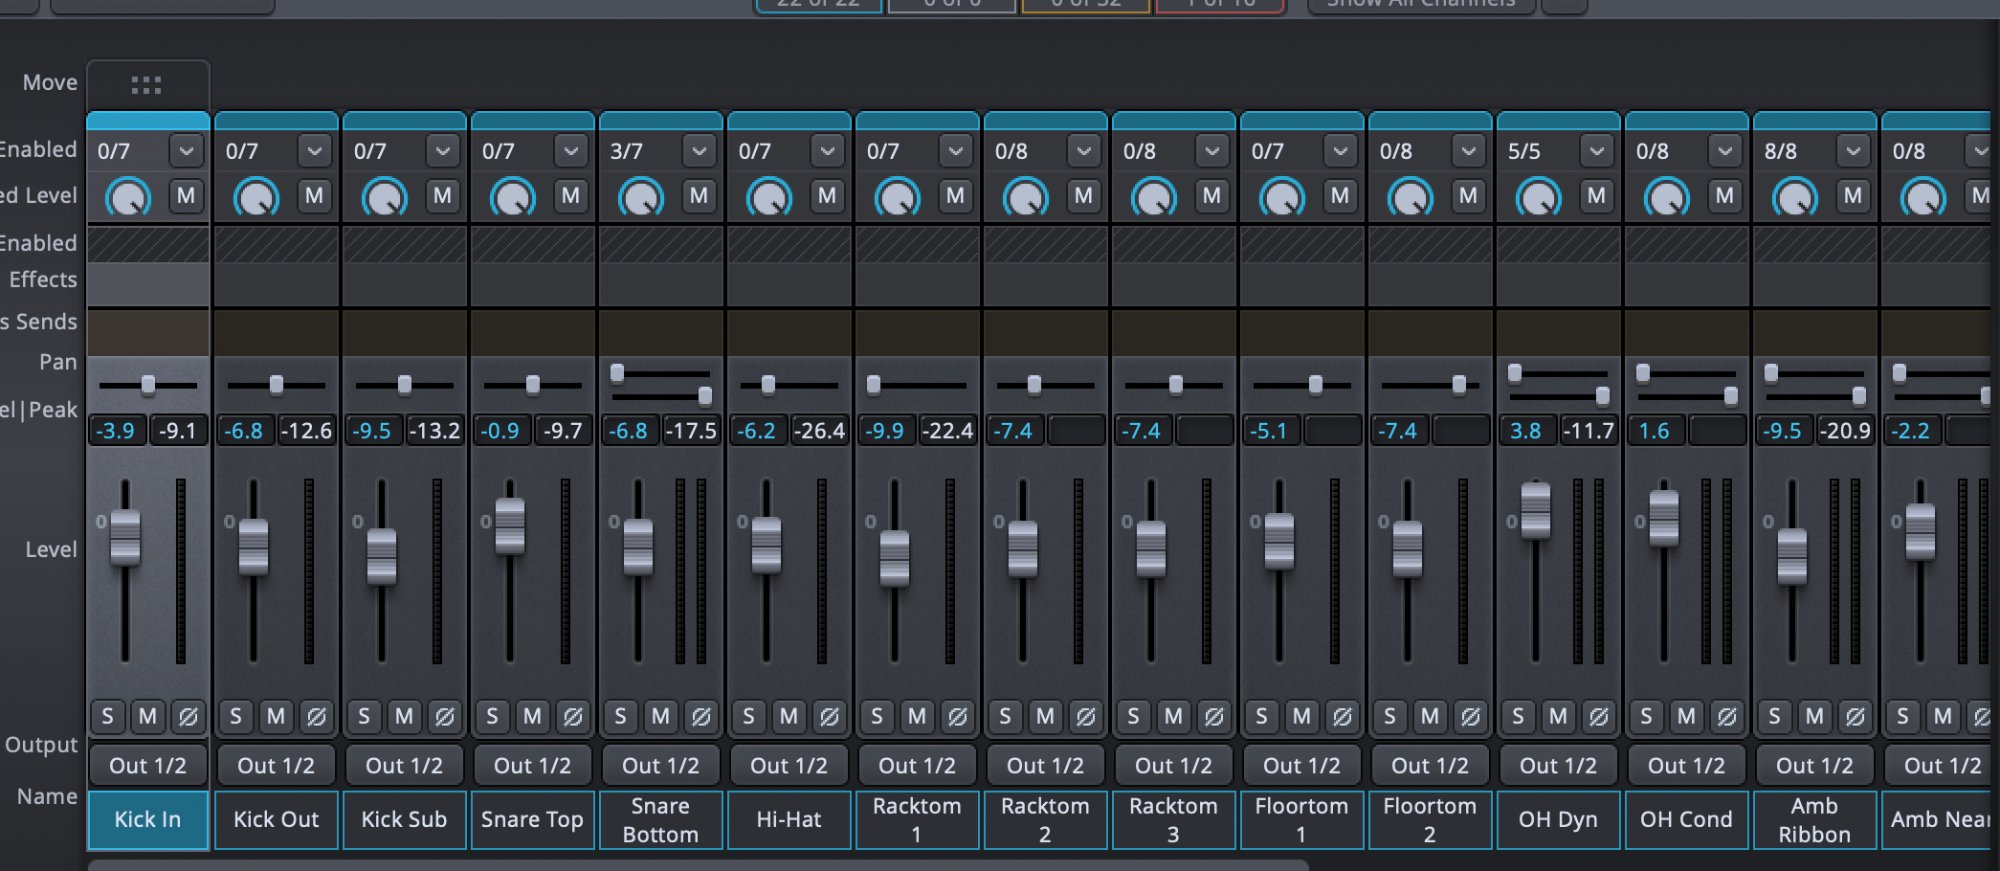
If you're using a preset kit that already has effects on it, go to SD3's Mixer and switch them off. Do this if you want the natural, unprocessed drums so you can do all your mixing in Logic.
If you like the kit's sound as-is, leave them on.
Step 5: Bounce each drum to its own audio file
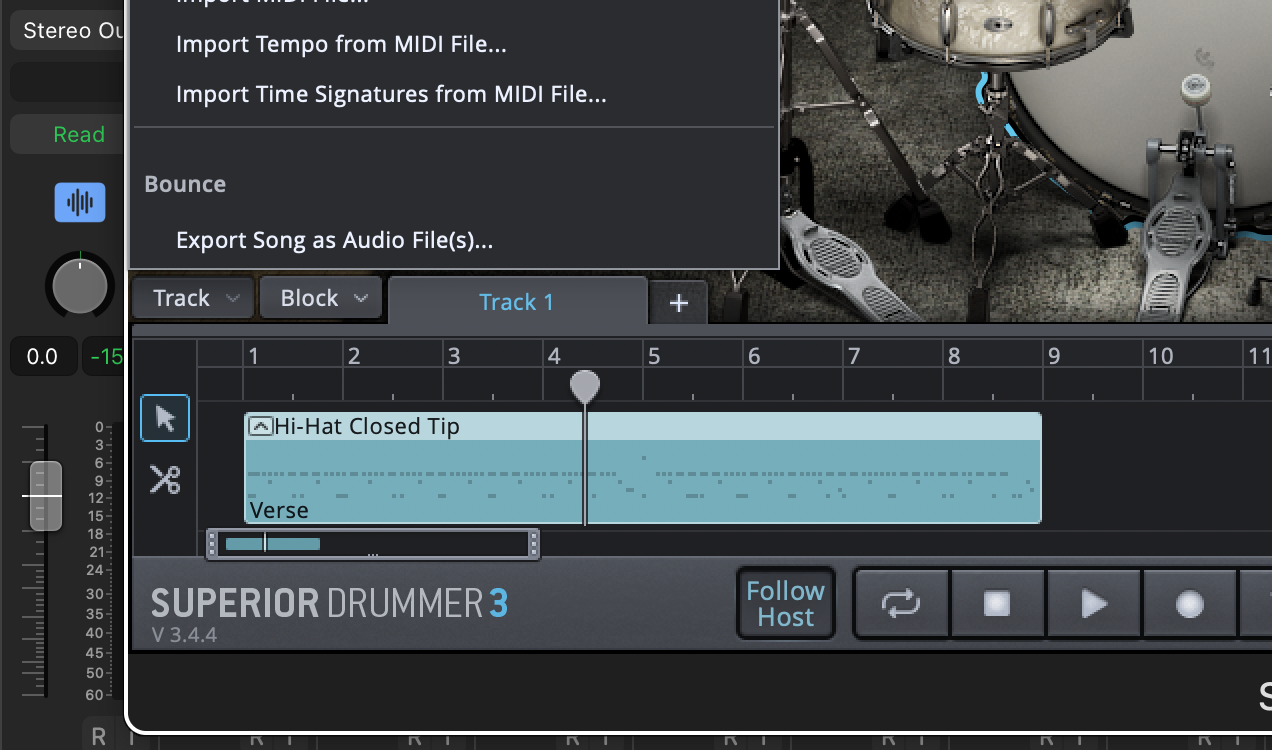
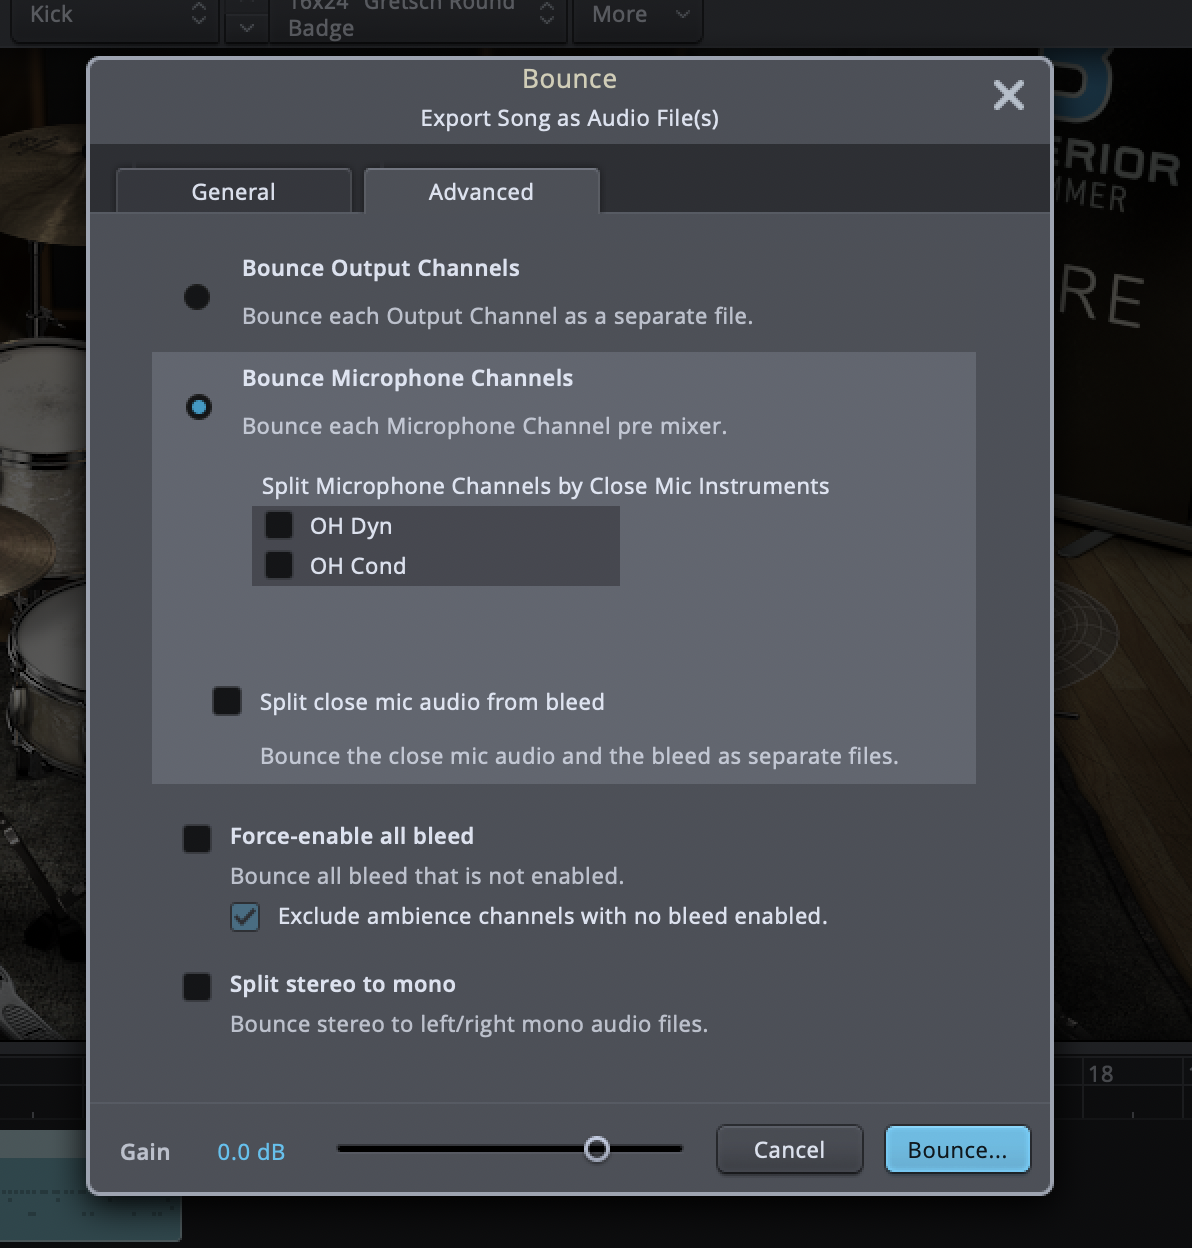
In Superior Drummer 3, go to Track > Export Song as Audio Files, then click Advanced.
You'll get a bunch of options. Pick what your project needs. I use the default settings, which export each individual track as its own file.
Step 6: Import the stems back into Logic
When the bounce finishes, drag all the audio files into Logic and choose Create New Tracks when it asks.
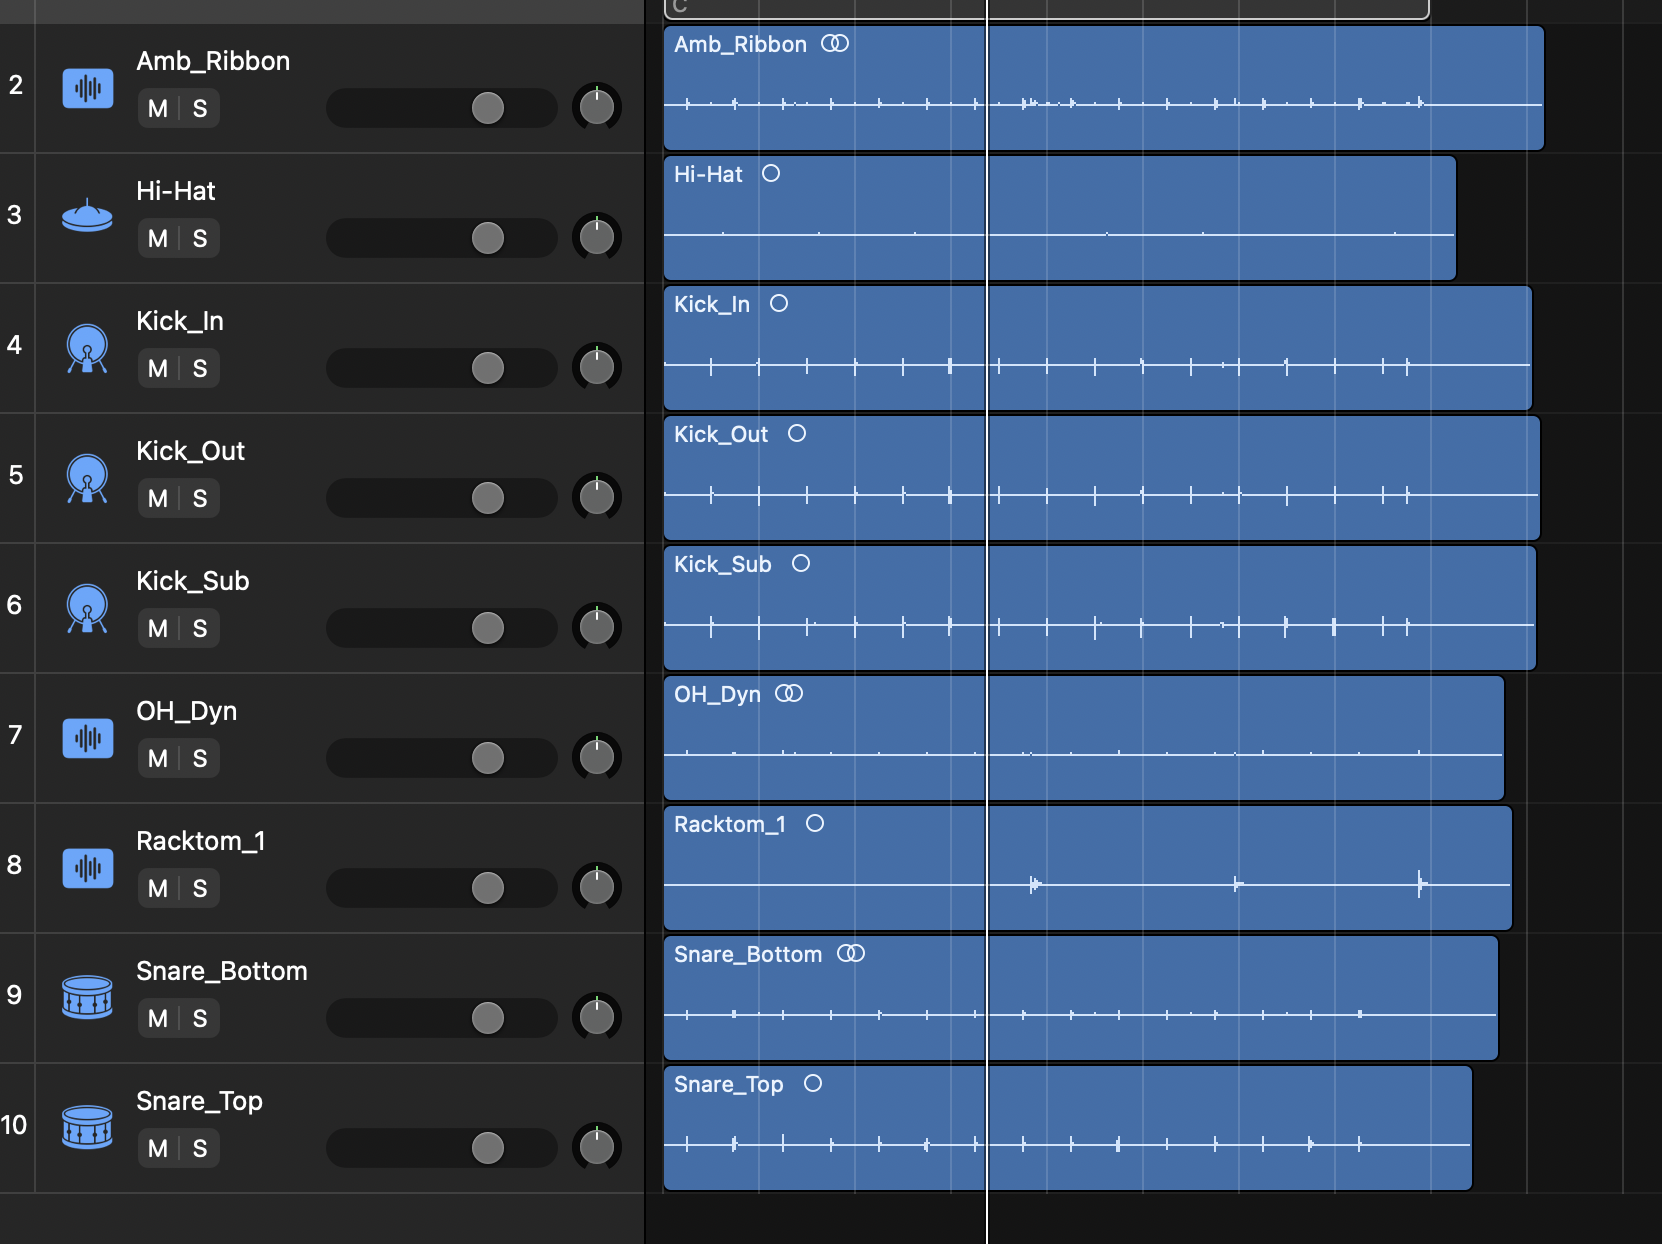
Now mute your Superior Drummer track and check everything lines up. You've got full control over every drum on its own track.
Step 7: Remove Superior Drummer 3
This is the main reason to do all this. Once you're happy with the audio tracks, remove the Superior Drummer 3 instance from your session. Your drums stay exactly as they are, and your computer gets a lot of its CPU back.
Tip: keep the exported MIDI file. If you ever want to change the kit or fix a fill, you can load it back into SD3 and re-bounce.
Quick recap
- Convert your drum part to a MIDI region
- File > Export > Selection as MIDI File
- Drag the MIDI file into SD3's drop area
- (Optional) Turn off kit effects in SD3's Mixer
- Track > Export Song as Audio Files > Advanced, then export
- Drag the files into Logic and choose Create New Tracks
- Mute, check, then remove SD3 to save CPU
If you play SD3 from an electronic kit, I've also got a post on playing Superior Drummer 3 from an Alesis Strata Core in Logic Pro.
Related posts
- I Built an LA-2A Plugin with AI (Twice)
With Claude doing the coding, I built two working LA-2A-style compressor plugins for Logic with one prompt. Claude took 8 minutes to create and register the plugin. I then compared it to Softube's Opto, and UAD's LA/2A
- How to Make a Songwriting Assistant with AI with YOUR ideas and content
AI gives wrong answers because it's pattern matching on whatever you give it. Here's how I set up a Claude project that pushes back, asks questions, and helps me decide.
- How to Release an Album by Yourself: The Solo Artist Checklist
Eight stages in order: finish the songs, track, mix, master, art and metadata, distribution, pre-release, launch. The order I used for Small Town Wanderer.
Comments
Loading…
Sign in to leave a comment.